
How to Rebuild an Engine
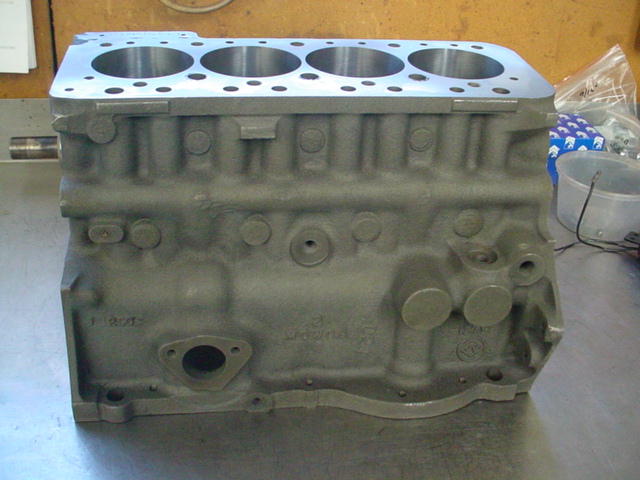
Take one old tired block,

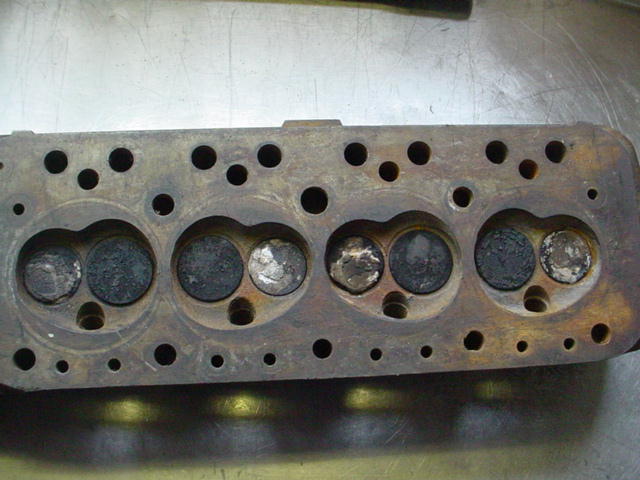
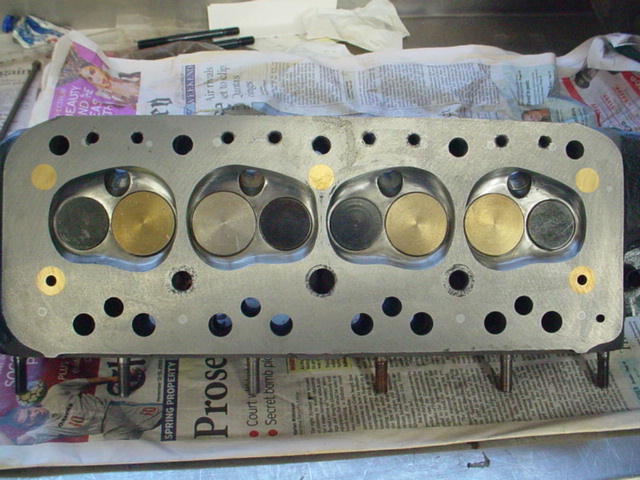
an equally tired cylinder head,
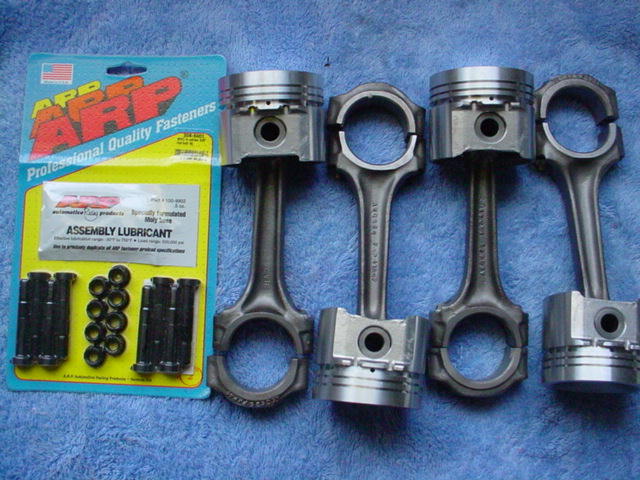
some con rods,

and a large selection of spare parts.

Remove the camshaft bearings, oil gallery and welsch plugs, and pickle the block and head for a week.
Bore it to suit the new 73mm pistons ( = 1360cc) and machine the block face so you know it's flat.
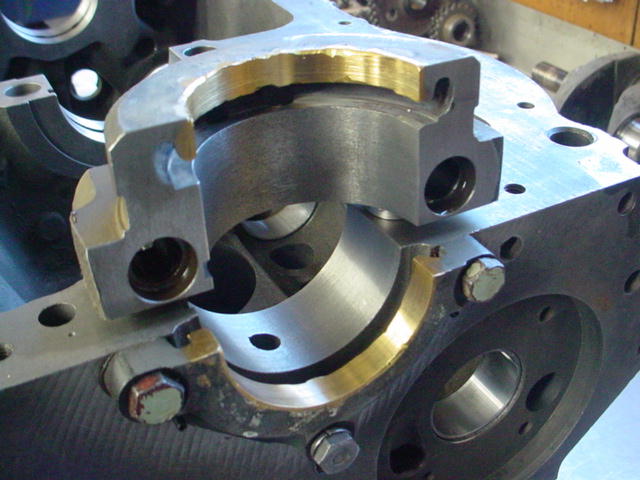
Build up the rear seal area and line bore block for correct clearances. This will minimise oil leaks from rear main bearing cap.
Fit new cam bearings.
Open up inlet and exhaust ports on the head,
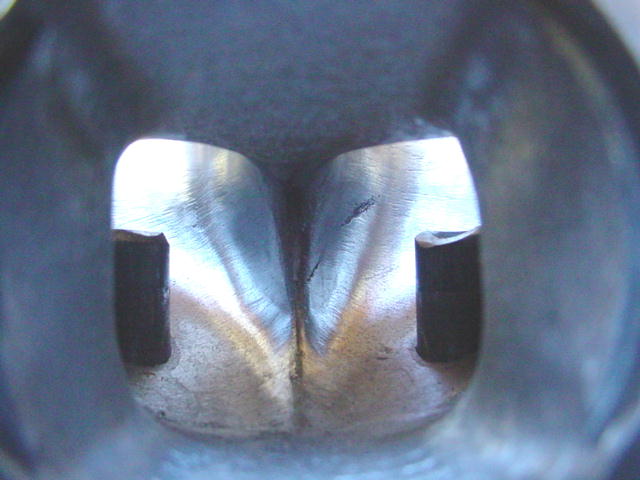

and re-shape the combustion chambers.

Surface grind head face so you know it is flat.
Remove the oil pressure relief valve seat,
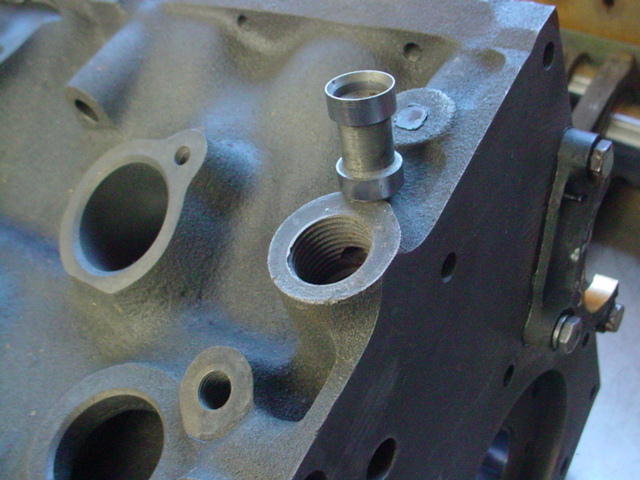
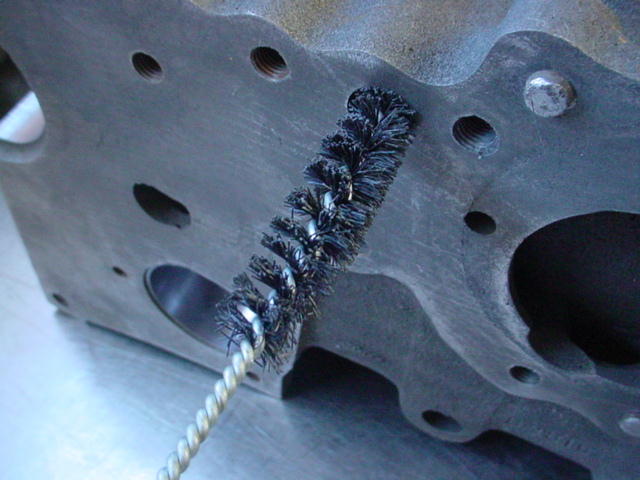
and clean all the oil galleries.

Dynamically balance the crankshaft, flywheel, clutch pressure plate. Statically balance the pistons and con-rods. Fit new 73mm pistons to rods.
Clean the crankshaft.


Fit new brass oil gallery plugs and welsch plugs. Don't forget to refit the oil pressure relief valve seat!


Fit the cam followers and camshaft, and coat the cam lobes with assembly lube to help bed in the new cam.

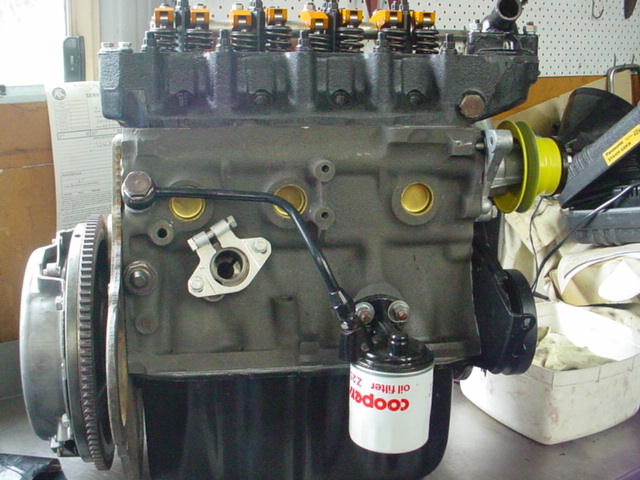
Fit the pistons on the conrods, and the oil strainer

Fit the sump and roll the engine over. Fit the front engine plate, timing gears and chain, and timing cover.
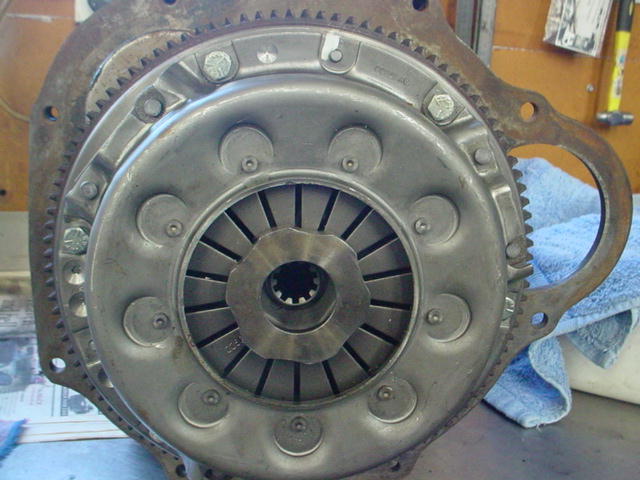
Fit the oil pump, rear engine plate and flywheel. The flywheel has been skimmed and re-drilled to take a larger clutch plate.
Note new ARP flywheel bolts.

Fit the 7.5" clutch assembly. Note the white balancing marks on the clutch cover and flywheel.
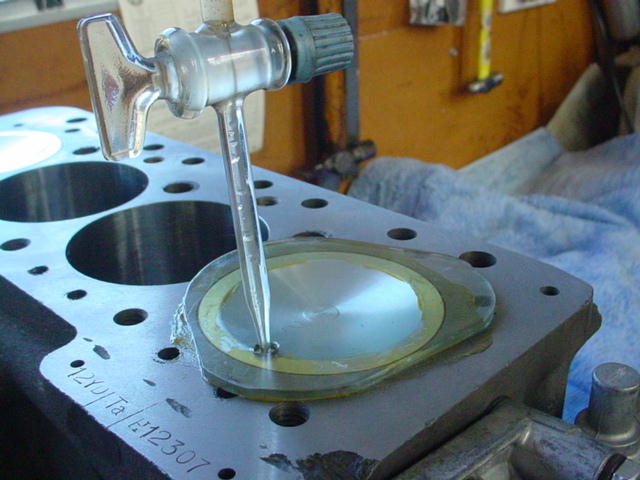
Measure the volume in the piston crown and the cylinder head, so you can calculate the compression ratio.
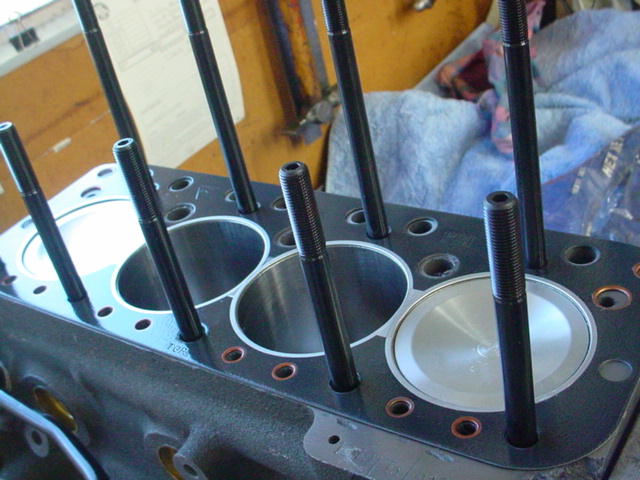
Fit some new ARP head studs.
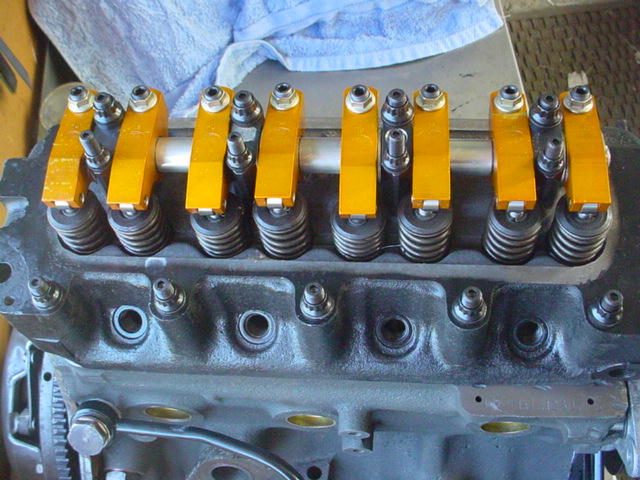
Fit the head, push rods and some nice new Titan roller rockers.
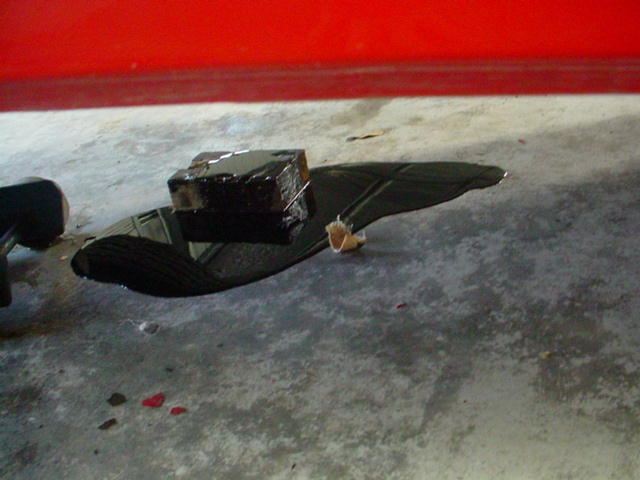
Fit anything that's left over on the bench.
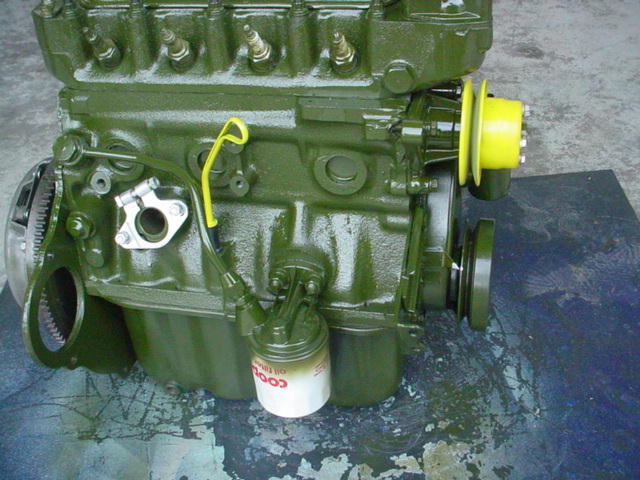
There's no point in rebuilding it if it doesn't look rebuilt, so give it a coat of paint. We painted this one in the original BMC engine green.
Note the additional timing marker on the side of the timing cover.
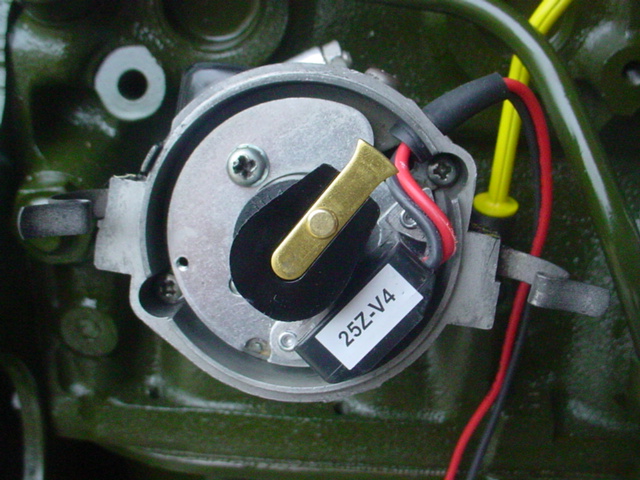
Add a 43D4 distributor, modify the advance curve, add a Pertronix Ignitor kit...
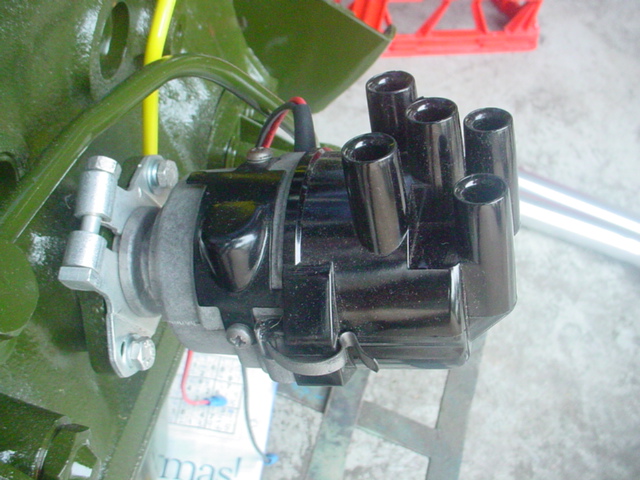
...and modify a side-entry cap to fit
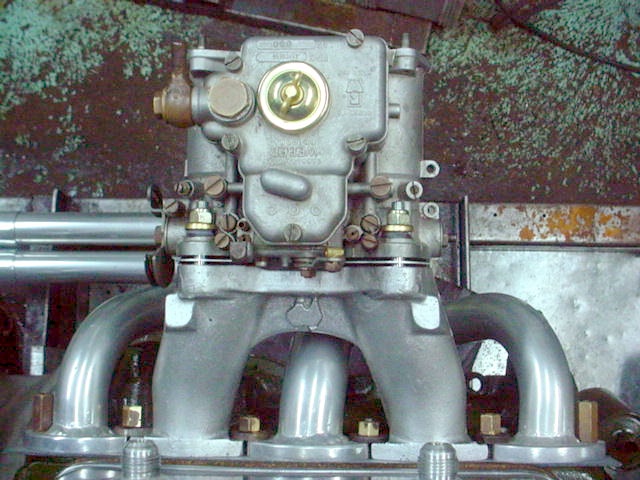
Fit a nice Weber 45 DCOE fitted to a Russell Engineering manifold
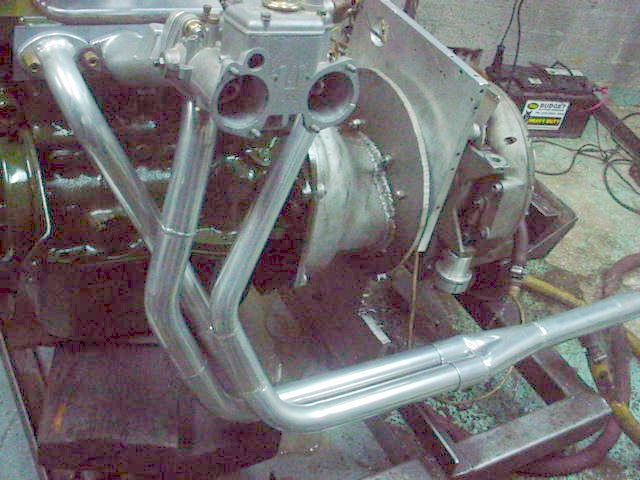
and add a good (mandrel bent, ceramic coated, long centre) LCB exhaust system
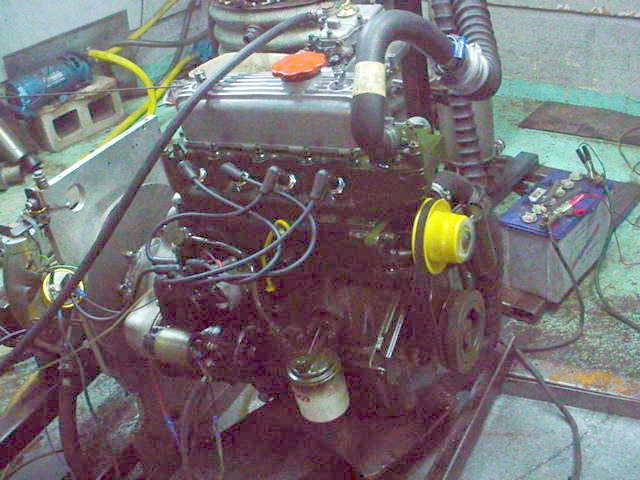
Put the engine on a dyno (photo taken at 6,000 rpm)
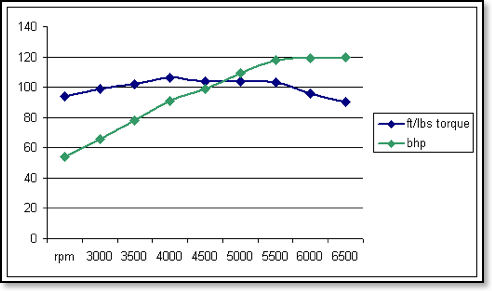
and what do you get?

You don't get a torque curve, more of a torque plateau, with almost 90% of maximum torque from 3,000 rpm to 7,000 rpm
| revs | 3,000 | 3,500 | 4,000 | 4,500 | 5,000 | 5,500 | 6,000 | 6,500 | 7,000 |
|---|---|---|---|---|---|---|---|---|---|
| torque | 94 | 99 | 102 | 106 | 104 | 104 | 103 | 96 | 90 |
| bhp | 54 | 66 | 78 | 91 | 99 | 109 | 118 | 119 | 120 |
You now need to take out the old...

clean around the engine bay
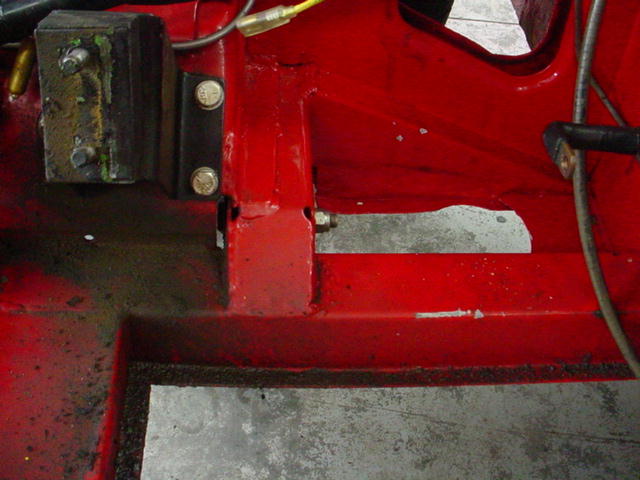

relieve the gearbox case for the larger clutch...

drop in the new engine...

fit some nice PiperCross short ram tubes
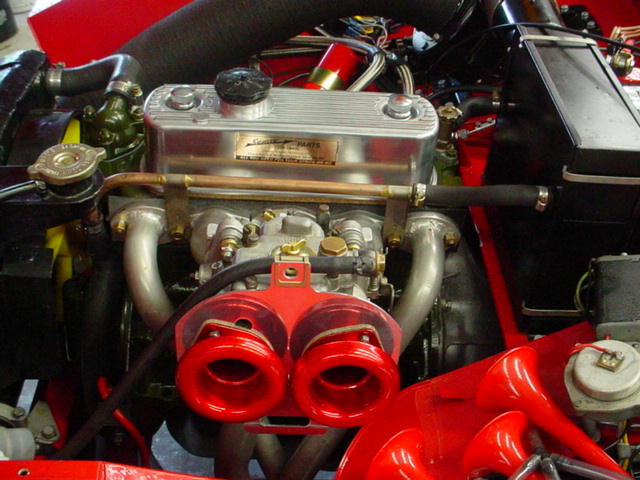
but it's such a shame to cover them up!

fire it up... but don't forget to connect the oil pressure gauge line!
... and take it for a spin!
You can see the rest of the car here