
Welch plugs, and how to fit them
freeze plug = welch plug = core plug
When the blocks were cast, there had to be holes in the mould to allow the molten metal in, and the hot gasses out.
948cc, 998cc and 1098cc (small bore) blocks have three holes down the distributor side of the engine, and one at the rear. 1275cc Cooper S ditto. 1275cc Morris 1100S and Sprite/Midget have smaller holes, three down the side and two at the back.
After machining, the holes are blocked with pressed metal "plugs" - actually lens or cup shaped. In Oz these are commonly called Welch plugs, but are also (obviously) known as core plugs, or (less obviously) freeze plugs. Maybe because if you let the coolant freeze in cold weather, they will often fall out.
Greg Holden's Bugeye lost a welch plug a few months ago on our run to the ZigZag railway. It only takes seconds before you lose all the water out of the engine, then it overheats and can seize very rapidly. Ask Greg about it!
The small bore blocks have a step machined into the core plug hole, and a convex dish shaped welch plug. You must insert the plug up to the step, and lightly peen it with a hammer until it is (almost) flat. This spreads the disc and wedges it into the block. Correctly positioning the welch plug isn't easy, and with lack of experience on behalf of the hammer wielder they can often leak or come out. Even worse of course when the engine is in place, and you are trying to work around distributor, oil pipes etc. Hence the interest in a sealant. But sealant usually will not stop the welch plug popping out when you have 7 to 13 psi of water pressure behind it. See below for step-by-step instructions and photos.
The large bore blocks have a parallel sided hole, and cup shaped welch plugs with step sides around 3/8" high. These are easier to fit, and the interference down the side wall of the plug means they seldom come out.
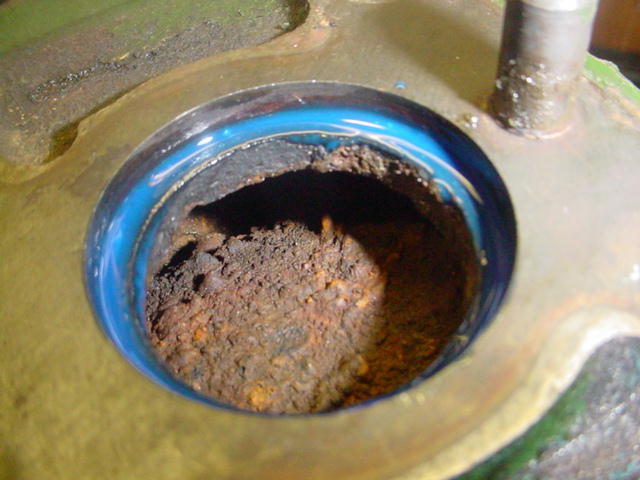
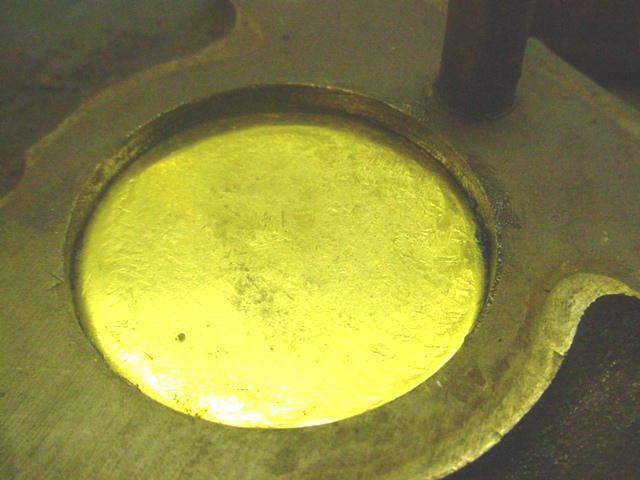
With the Welch plug removed, the recess in the block will look like this.
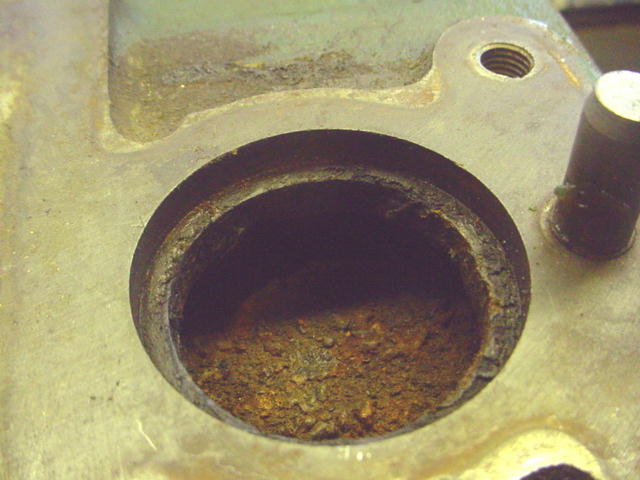
You need to thoroughly clean the scale from the surfaces until the metal is nice and shiny.

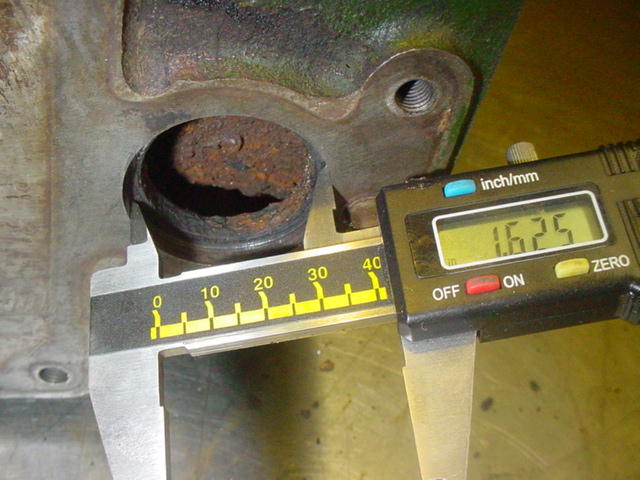
The hole is 1.625" in diameter. Not surprisingly, the new welch plug is also 1.625" in diameter.
I use Loctite sealant, just for that little bit of extra security.
Fit the new welch plug securely in the hole.
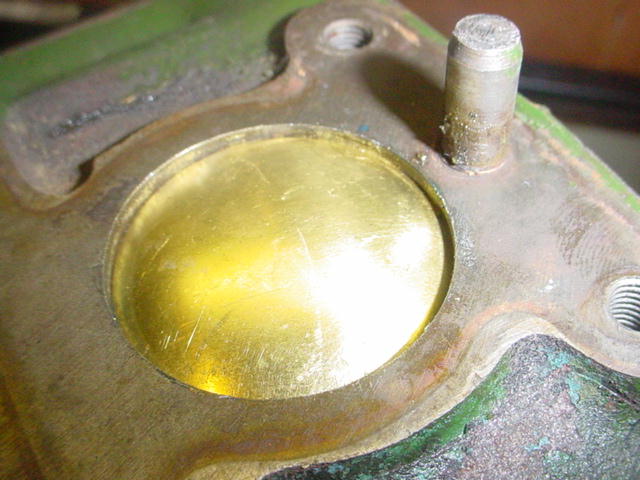
I use brass plugs because:
a) they are softer than the steel plugs, and so easier to work with;
b) because they are softer, they will more easily shape themselves to any irregularities in the hole; and
c) they will not rust.
The objective is to flatten the Welch plug so that it spreads out and jams in the hole. Just for interest here is a plug I flattened on the work bench just to see how much it expands. It now measures 1.676" in diameter, so it has grown by 0.050". Obviously this is enough for a good fit in the hole. This step is not part of the insertion process - I did it just out of interest...

Before we get to the right way to fit them, this is the wrong way. One large dint in the plug will not spread the plug. I pushed this one out easily with a screwdriver through the side plug hole.

Use two hammers, one on the plug and one to hit with. Starting in the centre, work your way to the edges in a spiral pattern. You don't need to hit hard, just firm taps will do fine. You might need to repeat this two or three times, focussing on any high points.
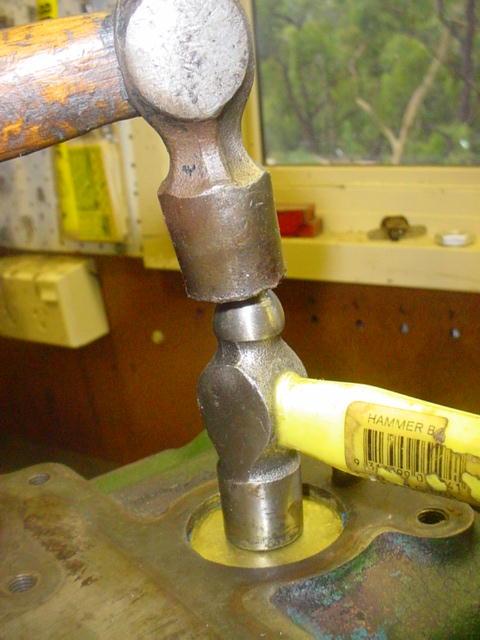
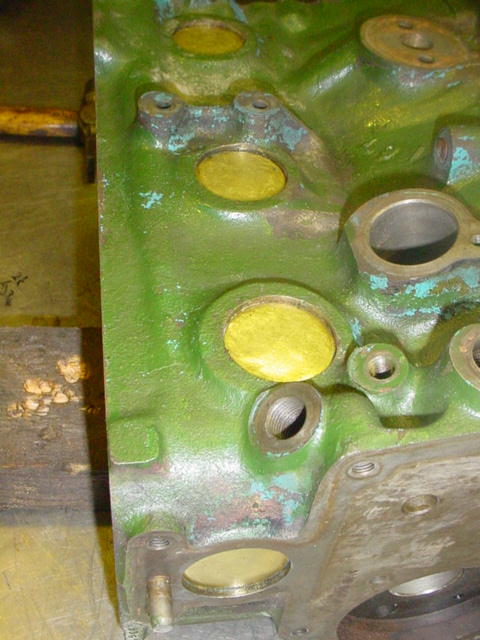
In just a few minutes you will have a nice flat plug.
Repeat for the other three holes and you will have a complete set of Welch plugs that will not leak or fall out.
Here endeth the lesson.
Colin